Marijuana enthusiasts know that a well-maintained grinder is key to an enhanced smoking experience. Over time, grinders can accumulate residue, hindering their performance and affecting the quality of your cannabis. Fear not – we’ve got you covered with a comprehensive guide on how to clean your marijuana grinder and keep it in top-notch condition.
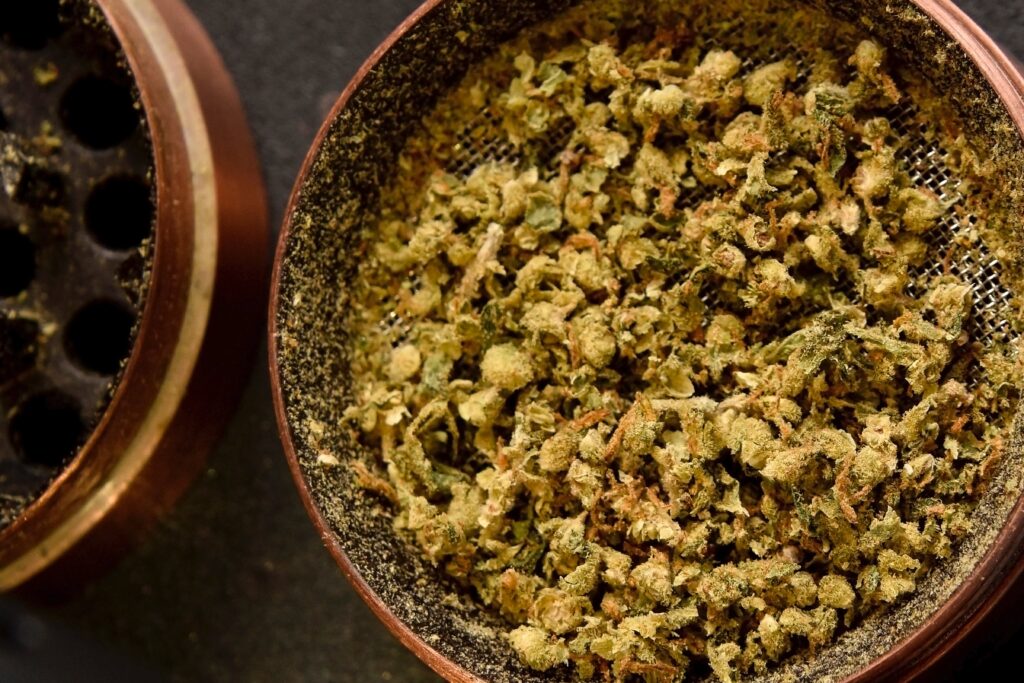
Why Clean Your Grinder?
Cleaning your grinder is a crucial practice for several reasons, all of which contribute to an enhanced and enjoyable cannabis experience:
- Preserving Flavor: Over time, residue from previously ground herbs can accumulate in the grinder. This residue may impart an unwanted taste to your fresh herbs, affecting the overall flavor of your cannabis. Regular cleaning ensures that each session delivers the pure, unadulterated taste of your chosen strain.
- Maintaining Potency: Resin buildup in a grinder can lead to a reduction in the potency of your cannabis. THC and other cannabinoids may adhere to the surfaces of the grinder, diminishing the effectiveness of your herbs. Cleaning prevents this loss of potency, allowing you to experience the full effects of your chosen strain.
- Smoothing the Grind: A clean grinder ensures a smooth and consistent grind. Residue can cause the grinder’s teeth to stick or grind unevenly, resulting in a less-than-ideal texture for your herbs. By keeping your grinder clean, you maintain its efficiency, producing a uniform grind that burns evenly and provides a better smoking experience.
- Preventing Cross-Contamination: If you use different strains of cannabis, cleaning your grinder helps prevent cross-contamination. Residual traces of one strain can mix with another, altering the intended effects and flavors. Keeping your grinder clean ensures a pure representation of each strain.
- Extending Lifespan: Regular maintenance, including cleaning, contributes to the longevity of your grinder. Sticky residue can cause parts to become jammed or difficult to turn, potentially leading to wear and tear. By keeping your grinder clean, you ensure it operates smoothly and lasts longer, saving you from the hassle of replacing it frequently.
In essence, cleaning your grinder is an investment in the quality of your cannabis experience. It allows you to savor the true flavors and effects of your chosen strains, ensures efficient grinding, and prolongs the life of your valuable accessory. So, the next time you reach for your grinder, take a moment to appreciate the benefits of a clean and well-maintained tool for elevating your cannabis sessions.
What You’ll Need:
- Isopropyl Alcohol (91% or higher): An effective solvent for breaking down resin.
- Cotton Swabs or Toothbrush: For scrubbing hard-to-reach areas.
- Warm Water: To rinse off any remaining residue.
- Paper Towels: For drying and wiping.
Step 1: Disassemble Your Grinder
Carefully disassemble your grinder into its main components – the lid, grinding chamber, and kief catcher. This will make the cleaning process more manageable and thorough.
Step 2: Remove Excess Residue
Use a toothpick or a small brush to remove any large, loose particles of cannabis from the grinder. This initial step will make the subsequent cleaning more effective.
Step 3: Soak in Isopropyl Alcohol
Fill a bowl with isopropyl alcohol and submerge the grinder components. Let them soak for at least 20-30 minutes. This will help break down the resin and make it easier to scrub off.
Step 4: Scrub Away Residue
After soaking, take a toothbrush or cotton swab and gently scrub the grinder’s surfaces, paying extra attention to the teeth and corners where residue tends to accumulate. Repeat this process until the components are visibly clean.
Step 5: Rinse and Dry
Once you’ve scrubbed away the residue, rinse each component thoroughly under warm water. Dry them with paper towels, ensuring no alcohol or residue remains. Allow the grinder to air dry completely before reassembling.
Step 6: Reassemble and Test
Carefully put your clean grinder back together. Run a small amount of herb through it to ensure there’s no residual taste from the cleaning process.
Congratulations! Your grinder is now ready for action, providing a fresh and flavorful cannabis experience.
Maintenance Tips:
- Regular Cleaning: Make a habit of cleaning your grinder every few weeks, or more frequently if you’re a heavy user.
- Freezing Method: For stubborn residue, try placing your grinder in the freezer for 15-20 minutes before cleaning. This can make it easier to dislodge sticky buildup.
By following these simple steps, you can keep your marijuana grinder in optimal condition, ensuring each session is a smooth and flavorful adventure. Happy grinding!
Make sure to check out our blog for other marijuana tips, grow guides, and more or check out our helpful product reviews.
Conclusion
In conclusion, maintaining a clean marijuana grinder is an essential aspect of the cannabis enthusiast’s routine. A crystal-clear grinder not only enhances the visual appeal of your smoking accessories but also plays a crucial role in preserving the potency and flavor of your herbs.
Regularly cleaning your grinder with isopropyl alcohol and a bit of elbow grease ensures that each grind produces optimal results, free from the residue that can accumulate over time. The step-by-step guide provided here offers a straightforward and effective method to keep your grinder in top-notch condition.
Remember, a clean grinder not only contributes to a better smoking experience but also prolongs the life of your accessory. So, invest a little time in maintenance, follow these easy steps, and elevate your cannabis sessions to new heights. Happy grinding!
